


How To Set Up Snowboard Bindings
You have your snowboard, bindings, and boots, and you're ready to rip. But before you get out and ride you have to put it all together. While you can get your local snowboard shop to do it for you, setting up snowboard bindings is a straightforward process that can be done at home with a few tools and a little know-how.
As well as saving you some time and money, learning how to put bindings on a snowboard will help develop your understanding of how your snowboard works, and what your personal preferences are. Over time, this knowledge will help you get the most out of your riding no matter what setup you're on.
As well as saving you some time and money, learning how to put bindings on a snowboard will help develop your understanding of how your snowboard works, and what your personal preferences are. Over time, this knowledge will help you get the most out of your riding no matter what setup you're on.
Tools for Mounting Snowboard Bindings
Before we dive into how to mount snowboard bindings, you'll need your gear, a few simple tools, and a clear space to work. The floor of your living room is a-ok! You'll need:
- Snowboard
- Snowboard Bindings
- Snowboard Boots
- Snowboard Multitool OR #3 Phillips Screwdriver
- Tape Measure
Snowboard Binding Compatibility
First of all, you want to make sure your bindings are compatible with your snowboard and boots. Most modern day snowboard bindings are compatible with most current snowboards, but there ARE some variations. The majority of boards come with a 2x4 or 4x4 mounting pattern, or Burton’s Channel system. A handful of Burton’s kids boards come with their 3D hole pattern.
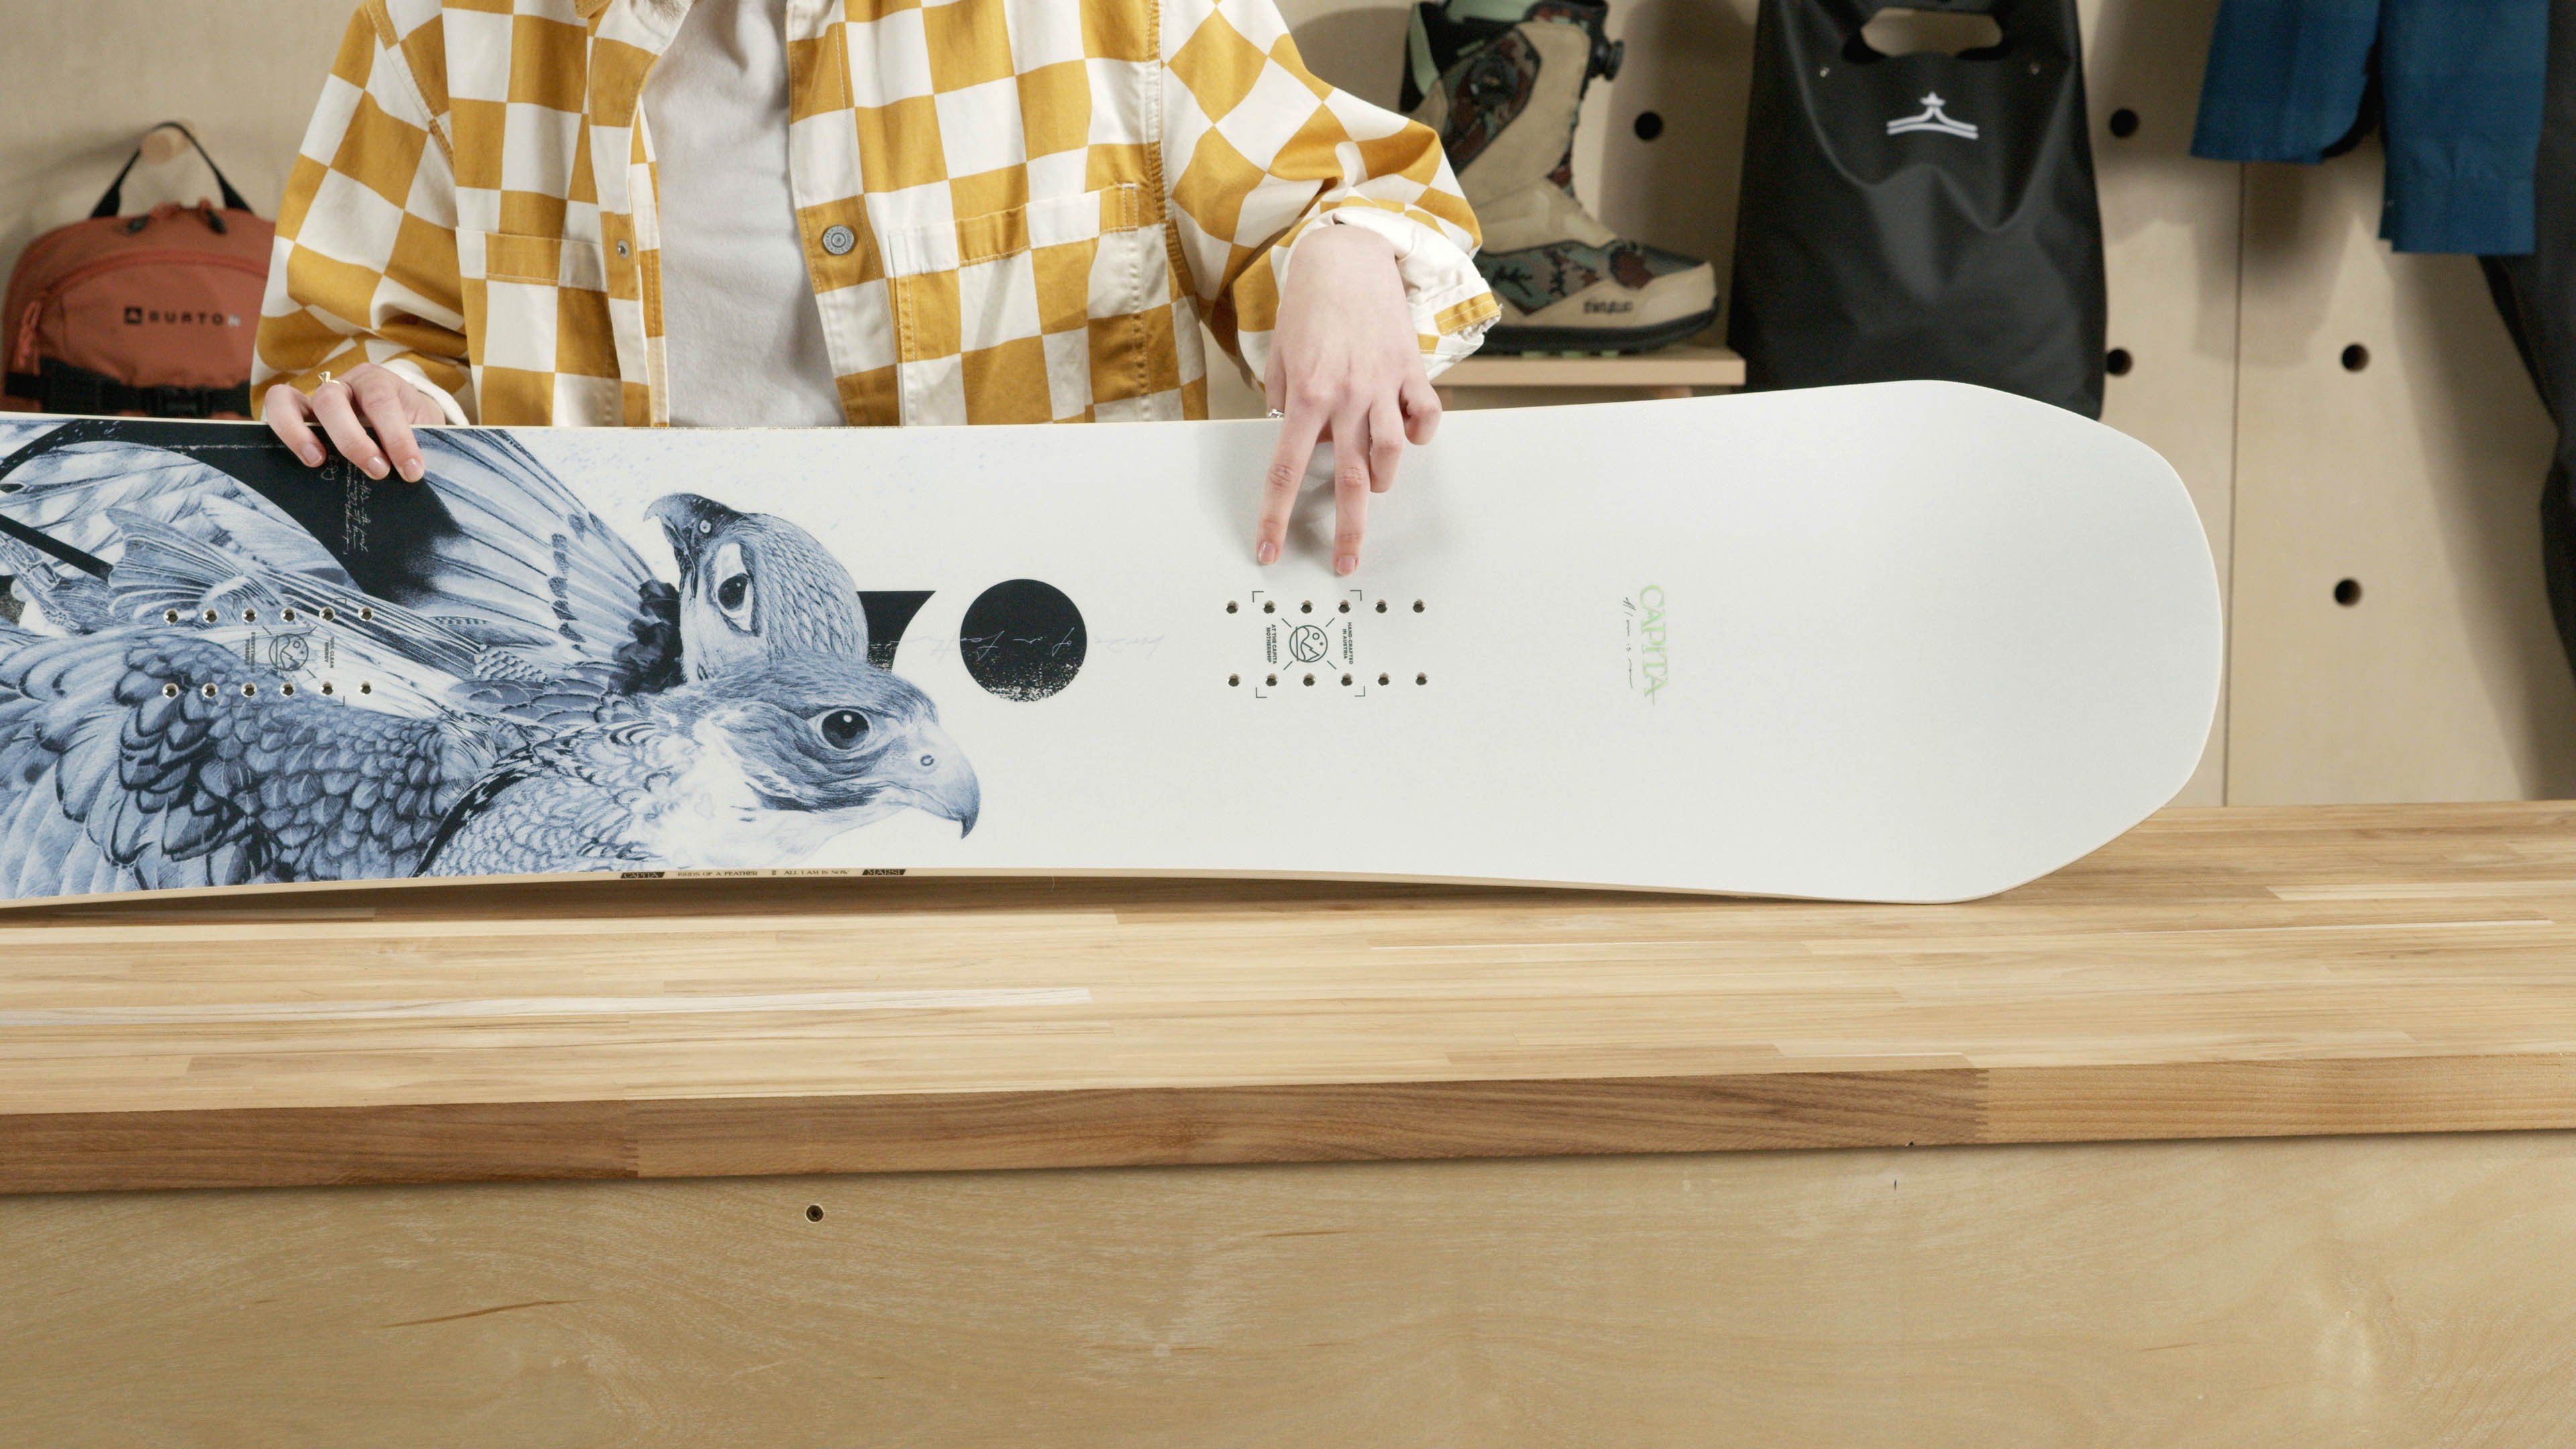
Your bindings will likely come with a mounting disc that sits in the middle of each binding. You will use the included binding mounting hardware (screws and washers) to attach your bindings to the threaded hole patterns found on your board. If your bindings have these discs, and your board has these holes, you’re likely good to go.
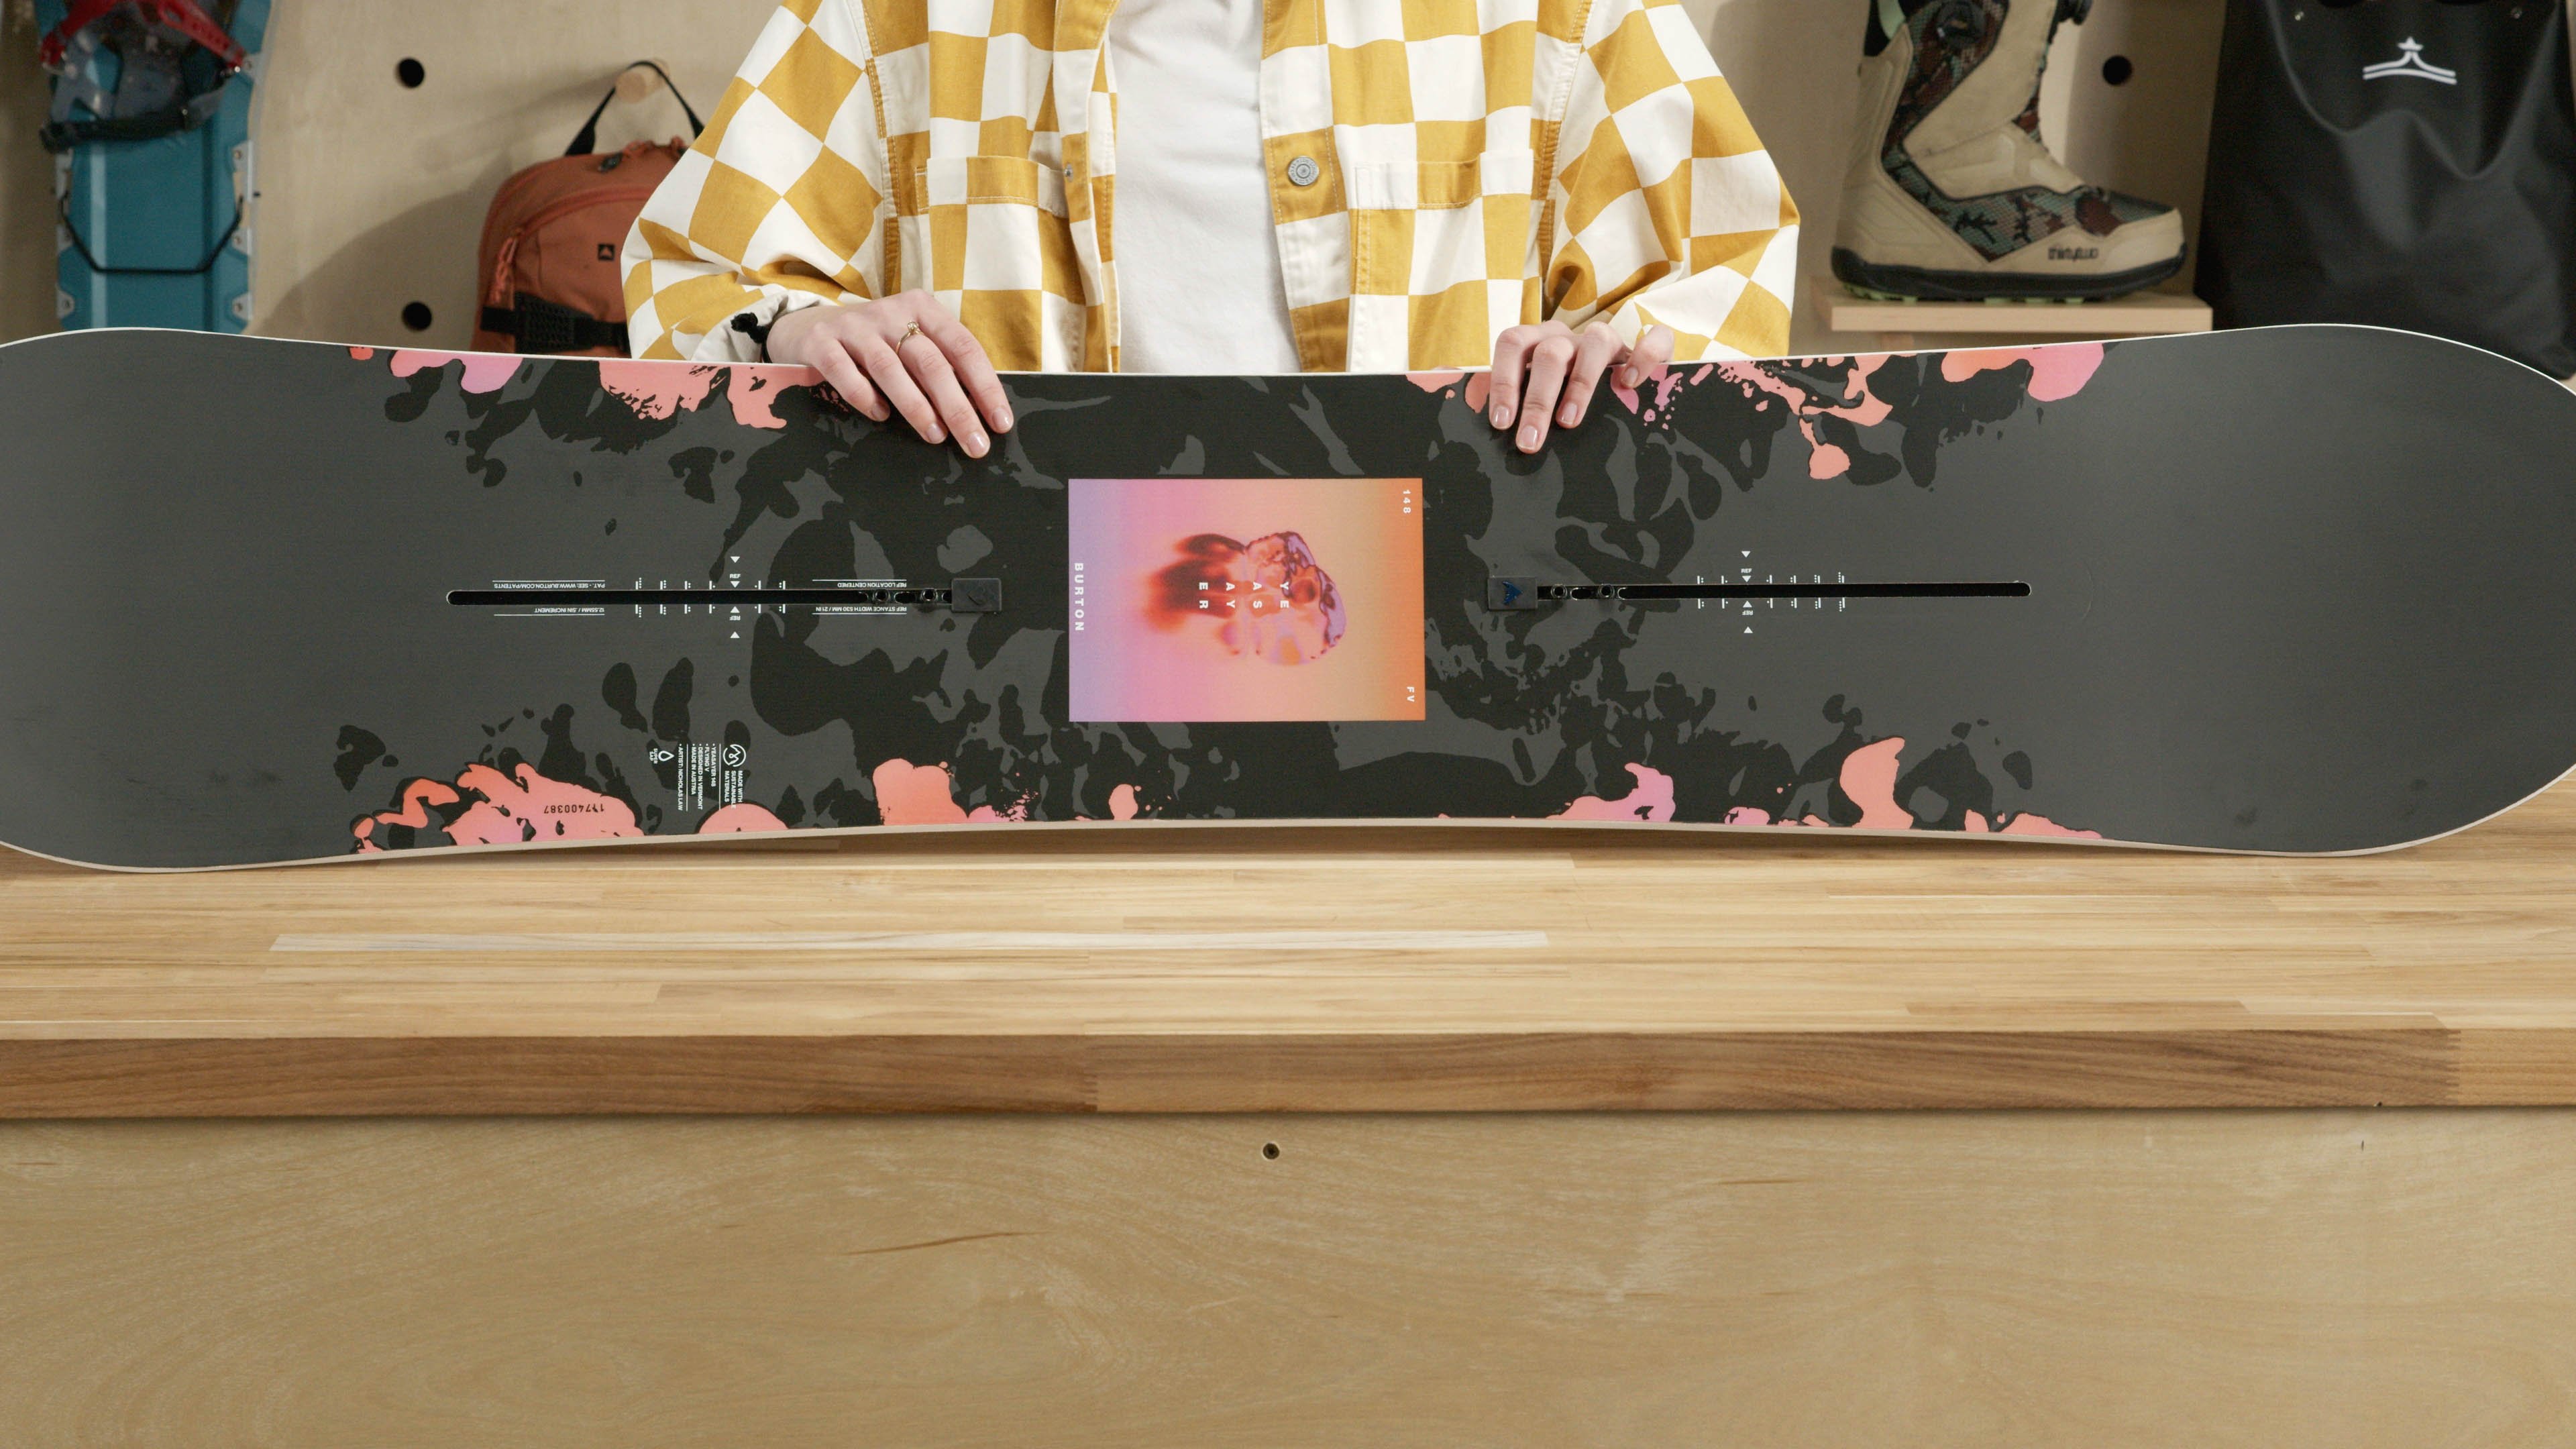
A notable exception is Burton’s “The Channel” and EST mounting system. These boards use channels in the middle of the snowboard for maximum freedom in stance adjustment, and a more seamless board flex pattern. The best way to use this system is to pair a Burton Channel board with Burton EST bindings, but most binding manufacturers will provide compatible or additional mounting discs to be used with Burton Channel boards. The fundamentals laid out in this guide regarding stance direction, stance width, binding angles, and stance placement still apply to Channel and EST equipment, but the actual attachment style is different.
As far as boot fitment goes, the binding manufacturer will have a size guide detailing what size bindings work with what size boots. Most bindings come in small, medium, and large. Some bindings are unisex, and others offer specific women’s and men’s models. Any style binding can work for any rider, as long as the fitment and flex profile fit your needs.
Once you’ve determined that your bindings will mount to your board, and your boots will fit in your bindings, we can move on to the next step.
Choosing Your Lead Foot / Stance Direction
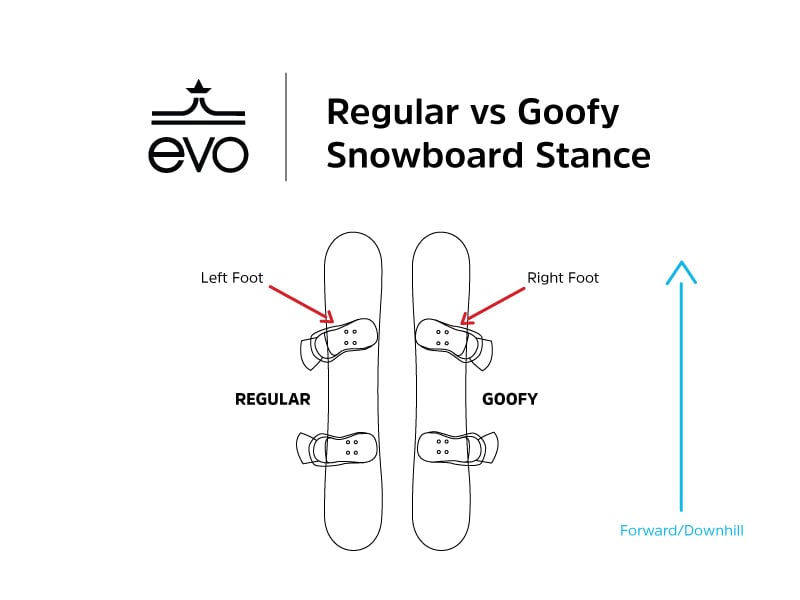
There are two types of snowboarding stances: regular and goofy. Riding regular means your left foot is in front and your right foot is in back. Goofy means that your right foot is in front and your left foot is in back. Generally speaking, most riders want their more dominant foot in the rear for power and steering.
There are a few ways to figure out which is your dominant foot, but here at evo we use the push test. One method is to ask a friend to stand behind you and give your back a gentle push forward. Whichever foot you naturally put forward to stop yourself is your leading foot, and that will be your forward foot while on board. This works the vast majority of the time, but it’s not totally foolproof. Don’t be afraid to switch things up and try the other foot if it doesn’t feel right!
Choosing Your Stance Width
Ah stance width. We are happy to say that the days of absurdly wide and/or narrow stances are mostly behind us. That being said, there are no hard and fast rules here. What IS important is comfort and functionality, and that will be different for every rider, and even different between boards or terrain types.
If you are starting from scratch, it’s time to break out the tape measure. We recommend standing comfortably with the outsides of your feet roughly in line with the outsides of your shoulders. You should feel like you’re standing slightly wider than usual, but not uncomfortably so. Think, STABLE, POWERFUL, MANEUVERABLE. Now measure from the MIDDLE of your front foot to the MIDDLE of your rear foot to determine a rough stance width for you. (We can fine tune this later).
If you bought an appropriately sized board, that board will likely have what is known as a reference stance, which will be indicated by markings on the board around the inserts. This is a great starting point for most, but not something you absolutely have to adhere to. Your stance may be narrower or wider than the reference stance. Both are ok if they are comfortable and functional.
Remember, you can always adjust your stance width later on as you dial in your own preferences and style. Widen the stance slightly if you’re struggling with balance, and bring it in if you’re finding it difficult to initiate turns.
Choosing Your Stance Angles
Now it’s time to decide what angles you want your front and rear foot at. Again, this ranges from person to person, depending on what board you have, and depending on what sort of terrain you want to ride.
The baseplate of your binding hardware should have angle markings that read 0 to 30 degrees in two directions. Pointing a binding towards the nose of the board is known as a positive angle, and pointing it towards the tail is a negative angle.
Your front foot should always be angled TOWARDS your nose. A good starting point is between +15 and +21 degrees. Your back foot is a different story. Here, you can opt for a positive, zero, or negative angle depending on your riding style.
Freestyle oriented riders, those with twin boards, and beginners will benefit from riding with a negative back foot angle, known as a “duck stance”. Somewhere between -6 and -12 works for most riders. This stance provides great stability for riding switch, and feels better if you tend to run a wider stance.
All-mountain and powder focused riders tend toward less negative angle on the back foot, 0 angle, or even positive angle. A good starting point for all-mountain or powder would be +15 on your front foot, and slight negative on the back or just straight perpendicular to the board set at 0 degrees. If you wanna get wild, go “posi posi” or double positive angles for maximum carving power.
This is all personal to you in terms of feel and preference, and these angles are fairly quick to change even while the bindings are still attached to your board. the key is to keep experimenting with different combinations until you land on something that feels great. You may find that you like to run different stance angles on different boards, or you might stick with one combination for everything.
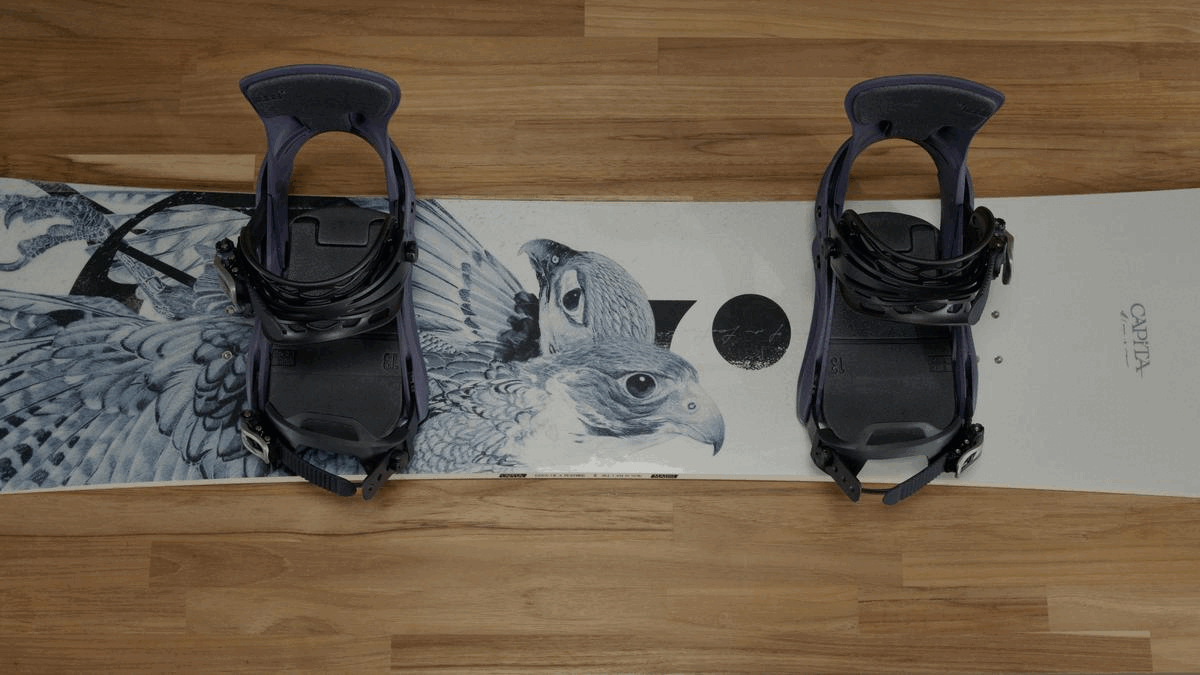
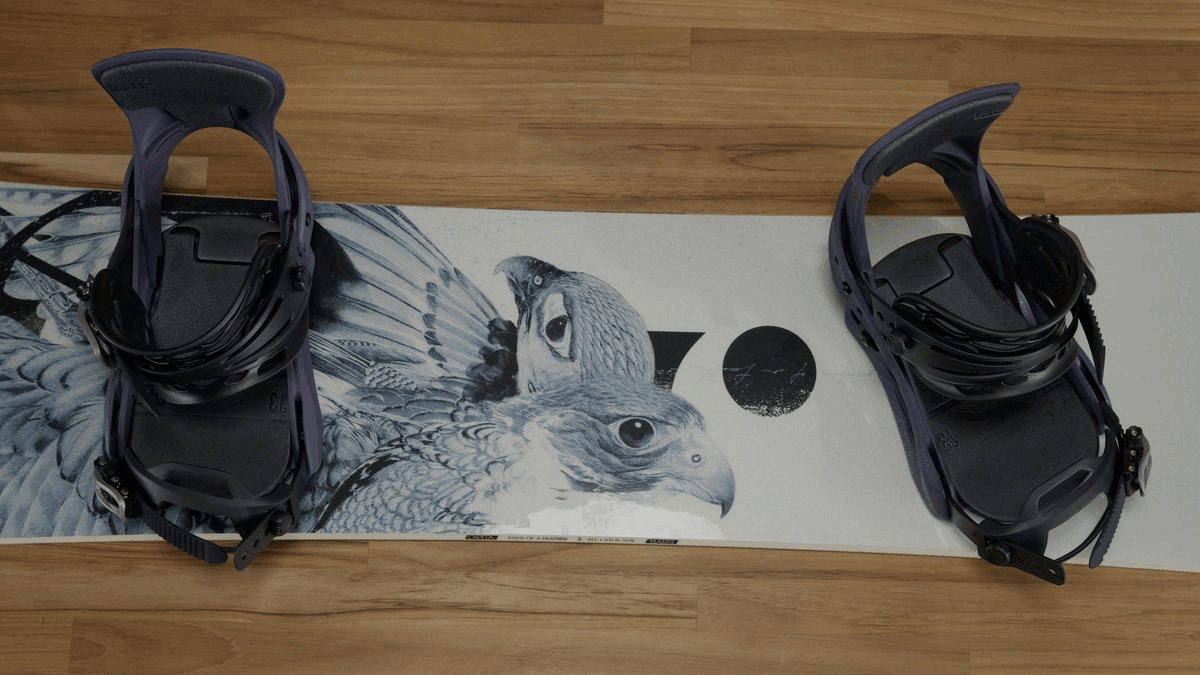
Attaching Disc Bindings to Board
It’s finally time to put these puppies where they belong.
You have your starting stance width and angles, and you know where the nose and tail of your board are. You also hopefully know your stance (regular or goofy, left or right foot forward). Now it’s time to transfer these things to the board.
You’ll need your multitool or screwdriver, your bindings, your binding hardware, and your tape measure.
Step 1: Choose Binding Position
You can either place your bindings on the “reference stance” we discussed earlier, or we can use the tape measurer. Remember, your stance width is calculated to the center of the your discs.
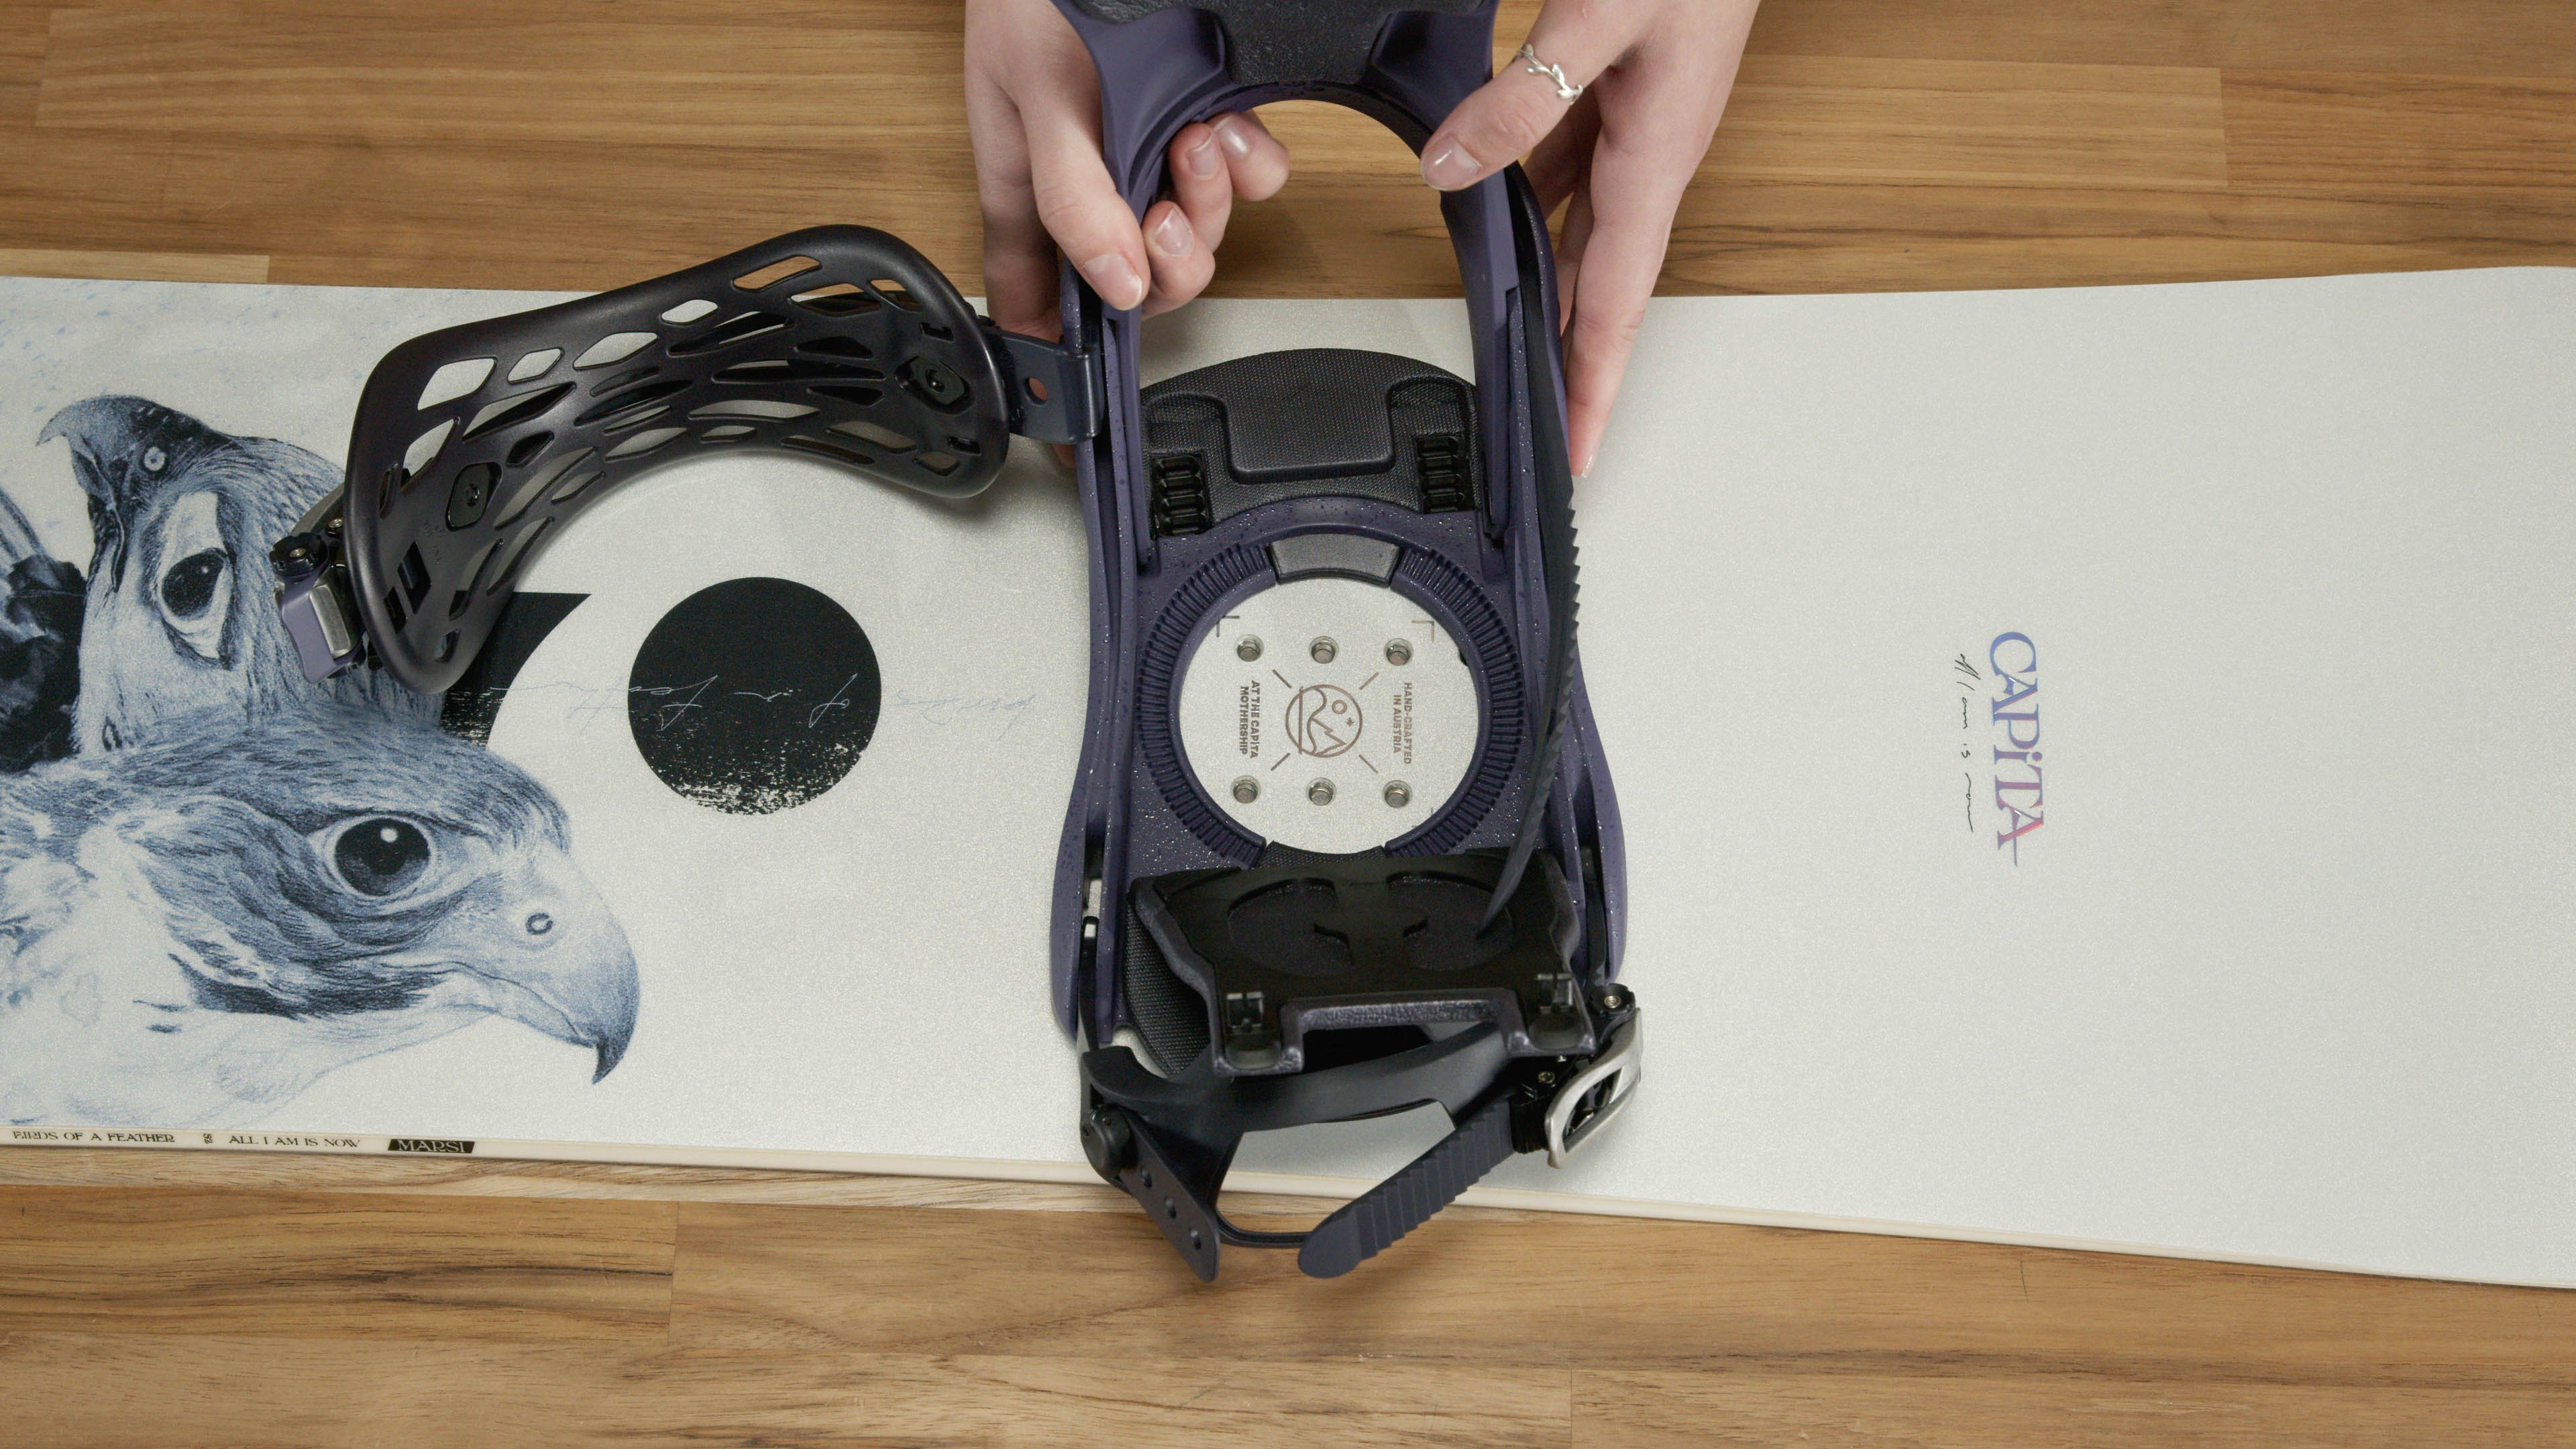
With the tape measure on the board it should be fairly simple to see which sets of 4 holes are going to line up with your mounting discs. Generally, you should mount your front and back bindings to the inserts mirrored from each other. For example; if your front binding mounting disc is mounted with 2 sets of holes visible toward the nose, your rear binding should be mounted with 2 sets of holes visible toward the tail. This amount will be different depending on your board, stance width, and binding size, so just try to make it even.
In an ideal world your desired stance width will transfer perfectly to the board, with the screws going into the centered holes on your mounting discs. But that’s not always the case. That’s why there are multiple sets of holes in those discs. If you need to go slightly wider or slightly narrower, but moving to different inserts is too far, you can do so by using different sets of the holes that are in the mounting discs. It’s ok if the screws are completely centered on the mounting discs.
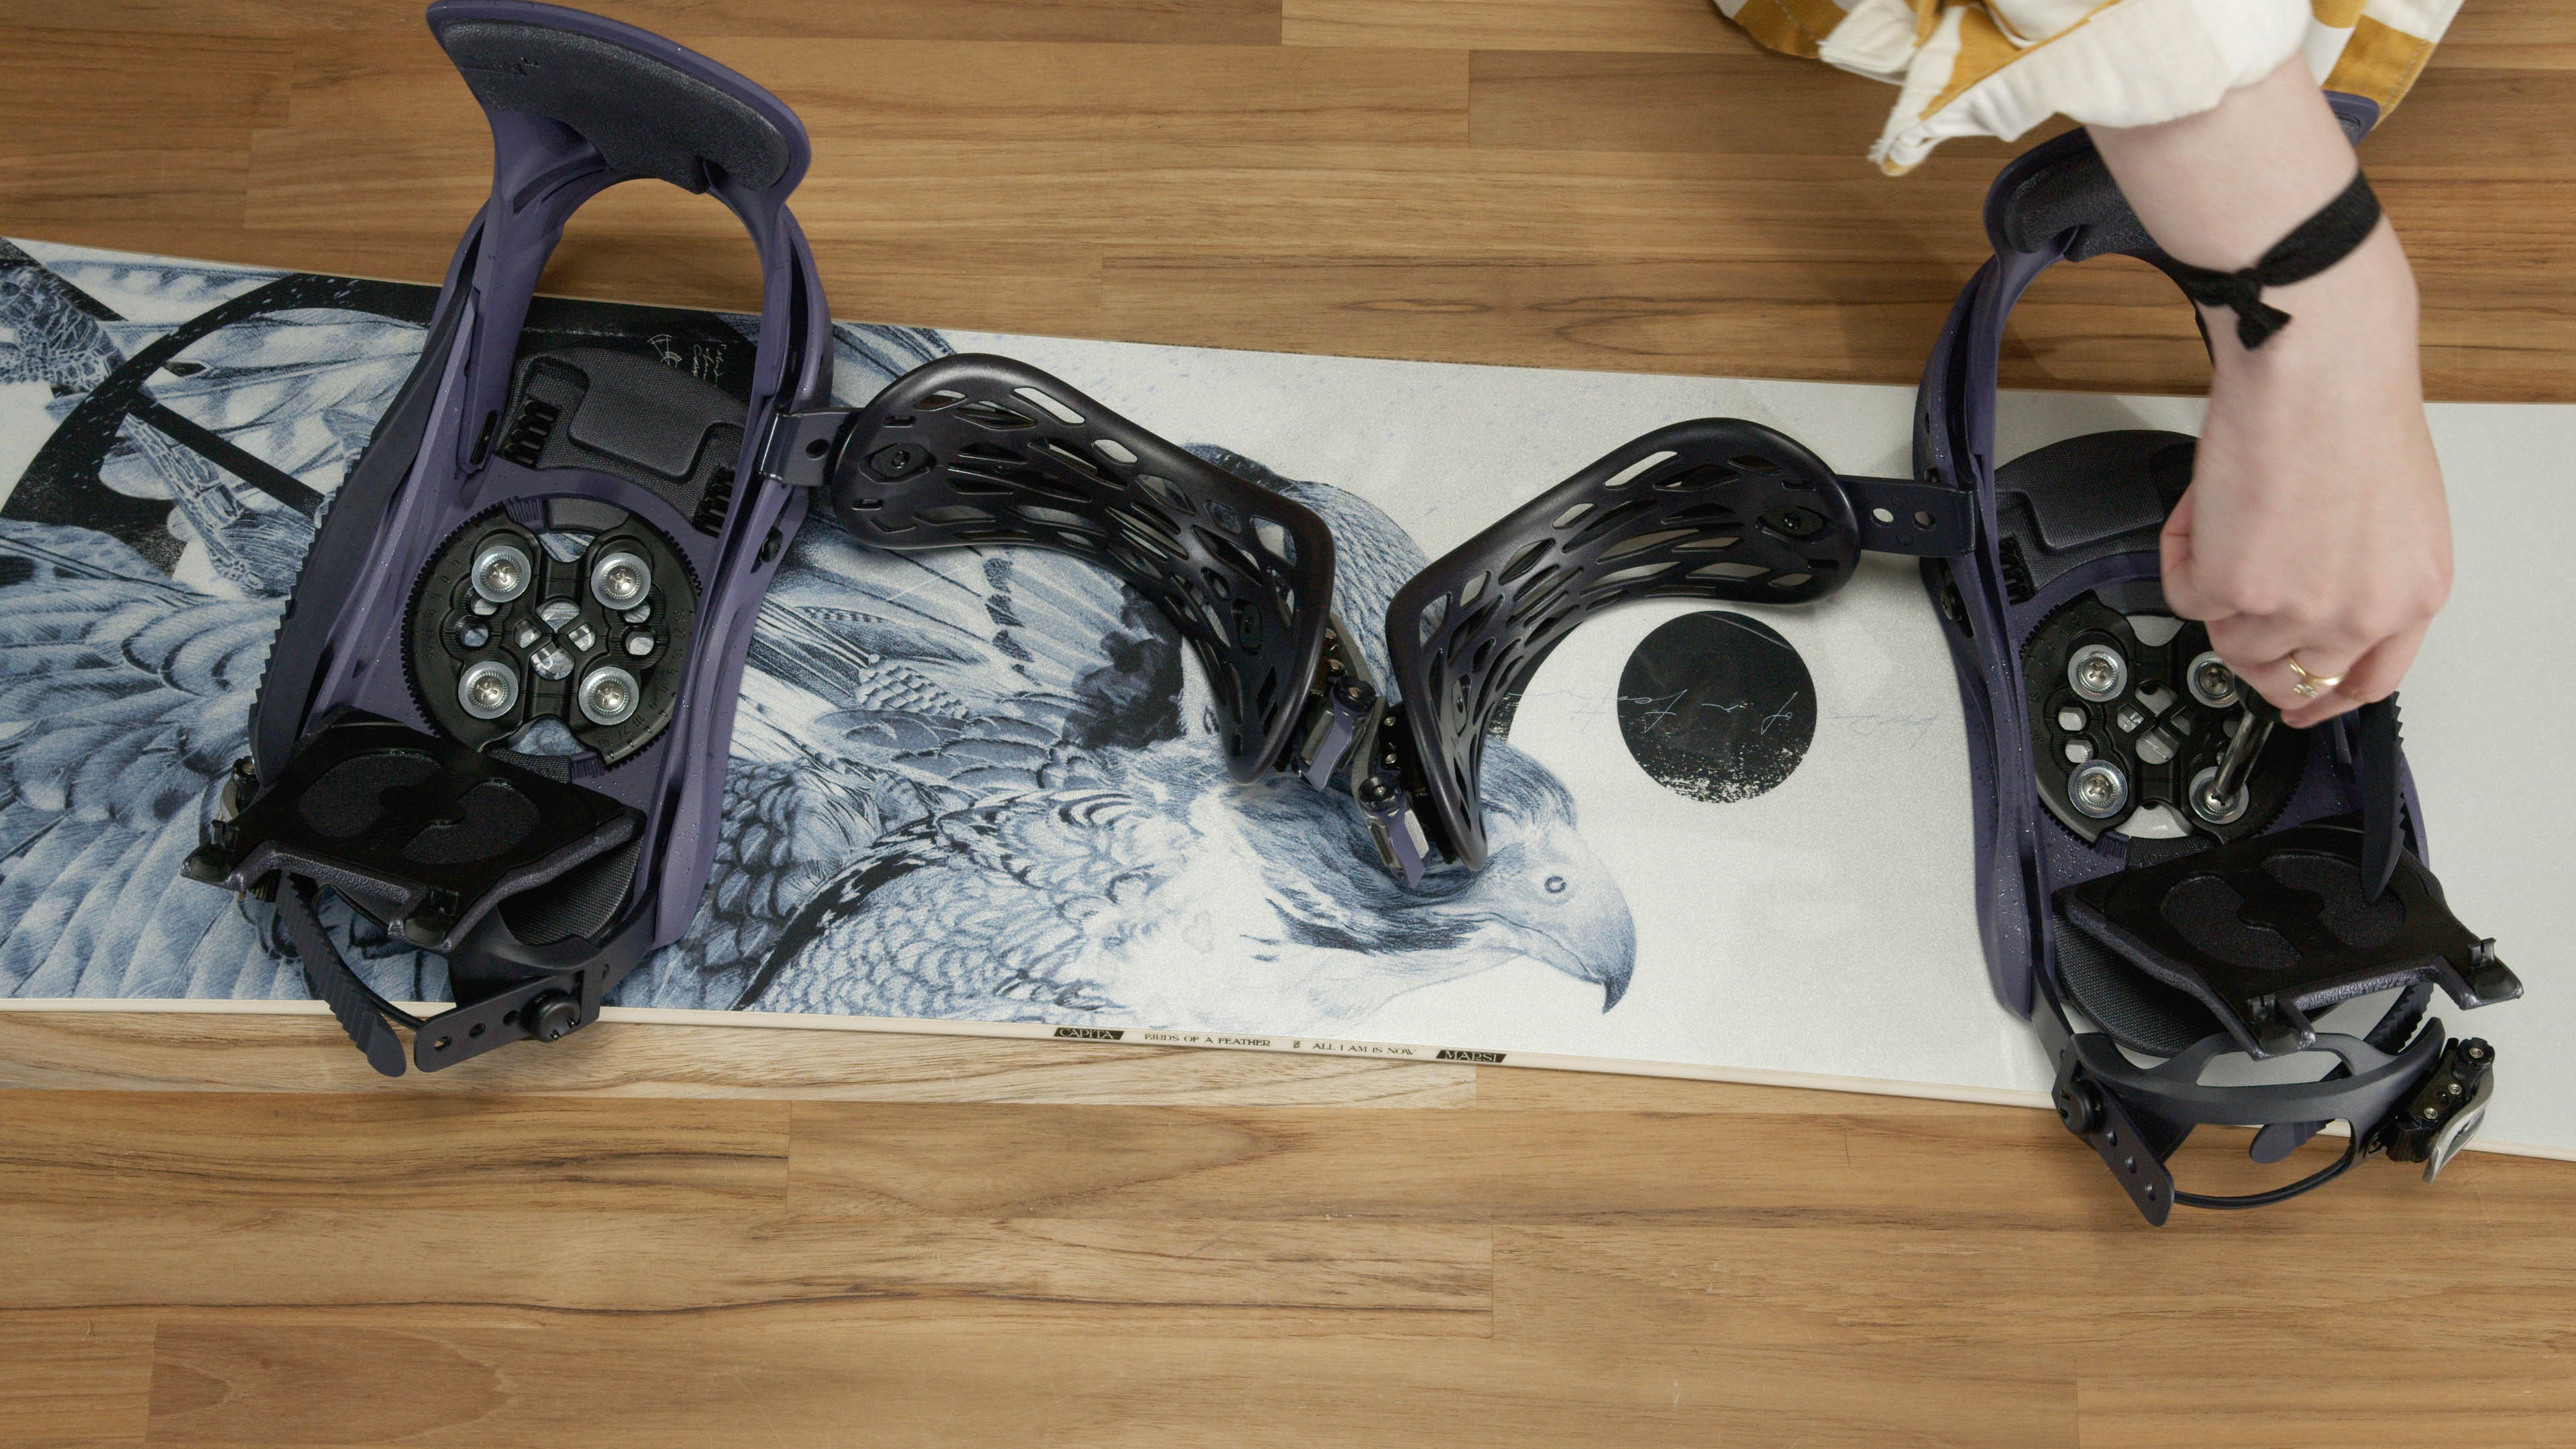
Step 2. Attach Bindings
Go ahead and attach your bindings to your board, but don’t tighten all the way. We recommend using a hand screwdriver and not a drill so you don’t over tighten or strip the screws.
Step 2. Check and Tighten
Once the bindings are on the board and relatively secure, you should step into the bindings on the board. You can do this with your snowboard boots on for maximum effect. Stand on the board and feel it out, look at the nose and tail of your board, assess the width and angles. Do you feel comfortable? Stable? If so, go ahead and tighten those screws down nice and snug. If not, tweak your angles or width as needed, and then tighten.
Attaching EST Bindings to Board
As mentioned at the beginning of this guide, Burton produces snowboards with a different mounting system than the majority of other boards. This system is present on the vast majority of Burton Boards, with a few exceptions.
The Channel Mounting System is exactly what it sounds like. Instead of two groupings of inserts (threaded holes), these boards feature a single Channel that each binding mounts to. These channels have various markings/information on them that can help you with positioning, including Reference Stance markings, reference stance width information, AND whether the channels are centered on the board or set back at all.
If you have a pair of Burton EST bindings, you are ready to take full advantage of the channel system. While most major binding brands can be mounted to Burton board, EST bindings are designed specifically for this system. Instead of a central mounting disc using four screws and washers. EST bindings have only two attachment points, which are built into the OUTSIDE EDGES of the bindings.
EST bindings ship with their own specific hardware, so make sure this is the hardware you are using, and not screws/washers from another type of binding. You should have 4 Screws, 4 washers, and 4 inserts (these inserts are actually placed inside the Channel and are where you attach your screws.)
Step 1: Install your Inserts
Pop the little Burton logoed plug out of the end of each channel with a screwdriver or other form of leverage. Then Insert TWO of the provided inserts into each channel and replace the plugs.
Step 2. Loosely Attach Bindings
Position the inserts near your desired stance by sliding them within the channel, and align your bindings on top so they can attach using the provided screws. Remember, for EST bindings the screws and washers go on the outside edges of the bindings, not in the middle.
You don’t have to be super accurate here, just make sure your screws are starting to thread well, and your bindings won’t come off the board when you go to move them around.
Step 4. Stance Width and Angles
Now that your bindings are loosely attached to the board, you can freely move and rotate them into your desired stance width and angles. Use the built in “windows” in the middle of your bindings to find your binding angles and where your bindings are in relation to the Reference Stance. You may need to break out a tape measurer here for complete accuracy, but you can also just go by feel and the information printed on the channels themselves.
Step 5. Binding Shift Toeside and Heelside
Once you identify your width and angles, but before you fully tighten your bindings down, you can shift the bindings towards the toe or heel sides of your board. This helps in centering your boots on the board and avoiding any toe or heel drag.
Step 6. Toe Ramp Adjustment
On most Burton bindings you can do your Footbed/Toe-Ramp (Gas Pedal) adjustment at this stage. On most EST bindings, it's a toolless adjustment where you pop out the rear of the ramp and either slide it forward or back in the binding.
There are select models of bindings that require you to attach these ramps to the bottoms of your bindings BEFORE you place them on the board, so make sure to check your instructions or the attachment style of these if you are confused.
Step 7. Lock it Down
Tighten the screws with your #3 Phillips Screwdriver. Step into your bindings for a final check, or break out the tape measurer to confirm width and nose and tail length.
Snowboard Binding Adjustments
Ok, we’re almost there. Your bindings are on your board, but now we gotta make sure your boots fit in your bindings. You don’t want to show up to the hill and spend the morning fiddling around in the parking lot with cold fingers, so this is all about how to adjust snowboard bindings.
Step into your bindings and try to buckle in. It will be pretty obvious what needs to happen in terms of strap length right away. You may need to lengthen or shorten your ankle or toe straps, or even move their position forward or backwards on your bindings. Every binding manufacturer has slightly different options here and different ways to make adjustments, so we’re not going to delve into every possible adjustment you can make. A lot of these adjustments are “toolless” so they can just be done by hand.
You should be able to crank the straps really tight without them bottoming out, and it should be easy to insert the ratchet straps into the buckles. Your ankle straps should go over the center of your ankle, and your toe strap should go over the top and outside of your toes, pushing your foot down, but also BACK into the bindings.
Another adjustment that may need to happen is centering your boots on your board. Assess if there is any overhang on your toeside or heelside edge, and if there is, whether it’s symmetrical. A little bit of overhang is ok and likely won’t affect your riding, but if there is an excessive amount of overhang off the board you may be better off with a wider board to accommodate your boots.
If you have issues here you may have to adjust the heelcup of your bindings either in or out. This is the part of your binding that wraps around the heel of your boot, and will be separate from the highback, which can fold down for storage. This will likely require a screwdriver and can be a bit of a pain. But it’s definitely worth it to go through this process. There will be markings on the heelcup if your bindings have this adjustment capability, so you can match what you did on the first adjustment.
Additionally, on many bindings you can shift the entire binding towards your heelside or toeside using the additional holes in the mounting disc. Aim for your boots to feel centered, stable, and snug.
Stomp Pads
If you're a beginner, we highly recommend you equip your board with a stomp pad. A stomp pad is an adhesive traction device that you place just to the INSIDE of your rear binding on the surface of your board. These are crucial for staying stable when getting off lifts, while in the lift line, or any time you only have one foot strapped in. There are a number of different styles to these; some are large individual pads, while others are groupings of adhesive pieces that you arrange how you see fit.
Generally, you want to place these pads as close to the inside of your rear binding as possible, but WITHOUT covering up any inserts or affecting your ability to change your stance at a later date. Be careful with placement because they are pretty close to permanent!
If you’re an advanced rider and you want a good reason to run stomp pads, just go watch some of the wild one-footed tricks riders like Scott Stevens and Bode Merril throw down!
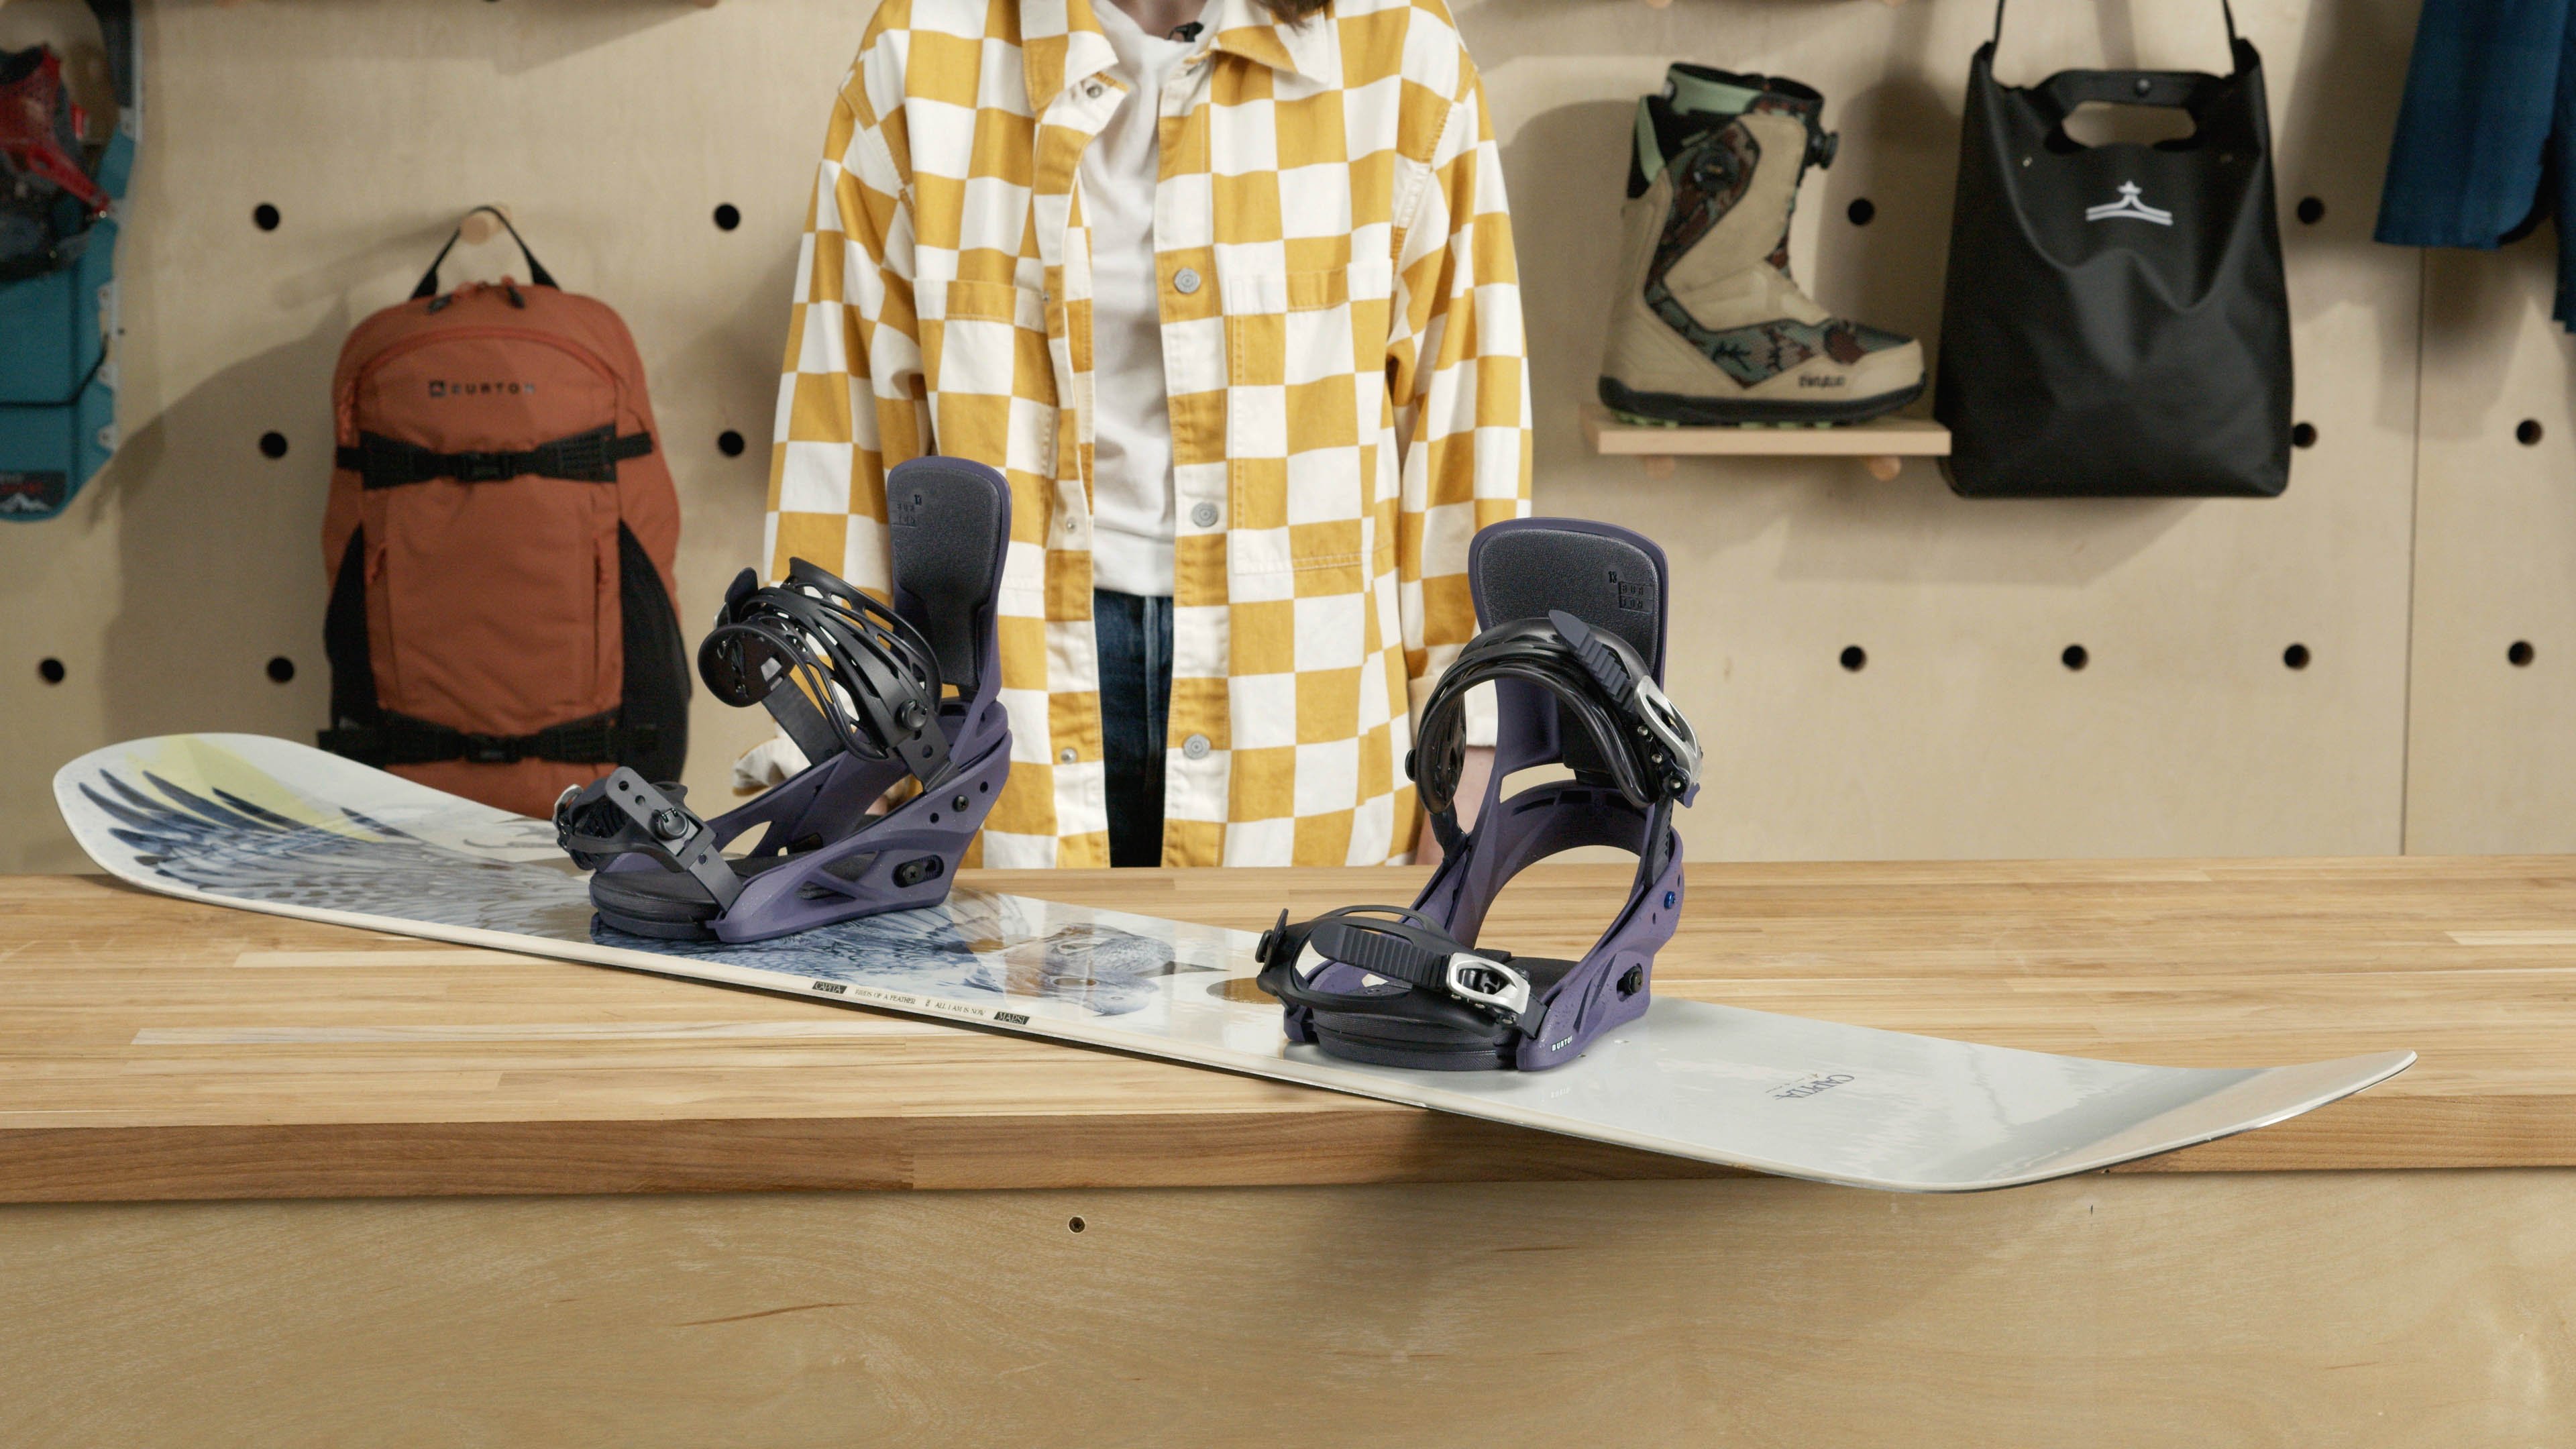
Go Ride!
As you can see, there are a ton of adjustments that can be made when setting up your board. Beyond the fundamentals, many of these variables are up to personal preference and riding style. We encourage you not to just “set it and forget it”, but to play around with these things as your riding and your quiver progress. Next time there’s a 2 foot storm in the forecast, go ahead and set those bindings way back!
Learn More With Our Other Snowboard Guides:
Snowboard Gear Guides
Snowboards - Snowboard Buyers Guide
Snowboards - Snowboard Rocker Explained
Snowboards - Kids' Snowboards Size Chart
Snowboards - How to Choose a Freestyle Park Setup
Snowboards - How to Choose Snowboard Shapes
Asymmetrical Snowboard Shapes
Snowboard Boots - How to Choose & Fit
Snowboard Boots - How to Put on & Fit
Snowboard Bindings - How to Choose & Compatibility
Snowboard Bindings – How To Set Up
How to Wax a Snowboard
Outerwear & Accessory Guides
Outerwear - What to Wear Snowboarding
Outerwear - How to Wash & Waterproof
Outerwear - Regional Snowboard Guide
Goggles - How to Choose
Goggles - Wearing Goggles with Glasses
Helmets - How to Choose & Fit Guide
Gloves & Mittens - How to Choose
Socks - How to Choose Snowboard Socks
Footbeds - How to Choose
Snowboarding - How to Get in Shape
Travel - How to Fly with Snowboards
Backcountry Guides
Splitboarding - How to Get Started
Splitboarding - Board and Binding Weight Chart
Avalanche Probes - How to Choose
Backcountry - Choosing an Avalanche Airbag Pack
Backcountry - Choosing an Avalanche Beacon
Backcountry - Climbing Skins Size Guide
Backcountry - How to Choose an Avalanche Shovel
Backcountry - How to Choose Climbing Skins
Backcountry Backpacks - How to Choose
Backcountry Basics - How to Get Started