How to Get Started with Dynafit (Tech) Bindings
DISCLAIMER: THIS GUIDE IS FOR INFORMATIONAL PURPOSES ONLY. IT IS NOT INTENDED AS A “DO IT YOURSELF” GUIDE TO ALPlINE TOURING BINDING MOUNTING, ADJUSTMENT AND/OR MAINTENANCE, NOR AS A SUBSTITUTE FOR PROFESSIONAL ADVICE AND SERVICE. ALWAYS HAVE YOUR ALPINE TOURING BINDINGS MOUNTED, ADJUSTED, SERVICED AND INSPECTED BY A CERTIFIED BINDING TECHNICIAN.
Congratulations, you've decided to take the plunge and invest in a set of AT boots and bindings for a lighter weight ski touring option. You’re stoked, you’re prepared, everything is mounted up and ready to go, but hold on - you've never actually stepped into them, and dang, they seem so tiny. How does this work, again?
Tech bindings do come with bit of a learning curve, but don't worry - after a little practice you’ll be marching up the skin track like a seasoned veteran. Here are a few practical pointers to help familiarize yourself with your new bindings.
What are Tech Bindings?
Tech bindings are minimalist, lightweight ski bindings designed specifically for alpine touring. They rely on two sets of pins to hold the toe and heel in place, and must be used with special alpine touring boots equipped with matching sockets. While skinning uphill, your toe is held in place by only the two front pins, allowing your heel to swing freely. When you want to descend, you step down to engage the rear pins and lock the heel in place.
Tech bindings weigh considerably less than frame bindings, and offer a more natural pivot point for walking. Together, this can help conserve energy during long tours. People who haven’t used them sometimes find it hard to believe they’ll be reliable in the backcountry, but strong skiers have used them successfully in some of the most severe conditions on the planet, and chances are you can too.Get familiar with the operation of your tech bindings on the carpet at home before your first outing. Practice clicking in and out, locking the toe lever, and using the different climbing levels. A bit of dry land practice will help things go smoothly when you try them on snow for the first time.
How Do I Put Tech Bindings On?
Tech bindings require a bit more skill to put on than regular step-in ski bindings, but you'll get the hang of it with a little practice.
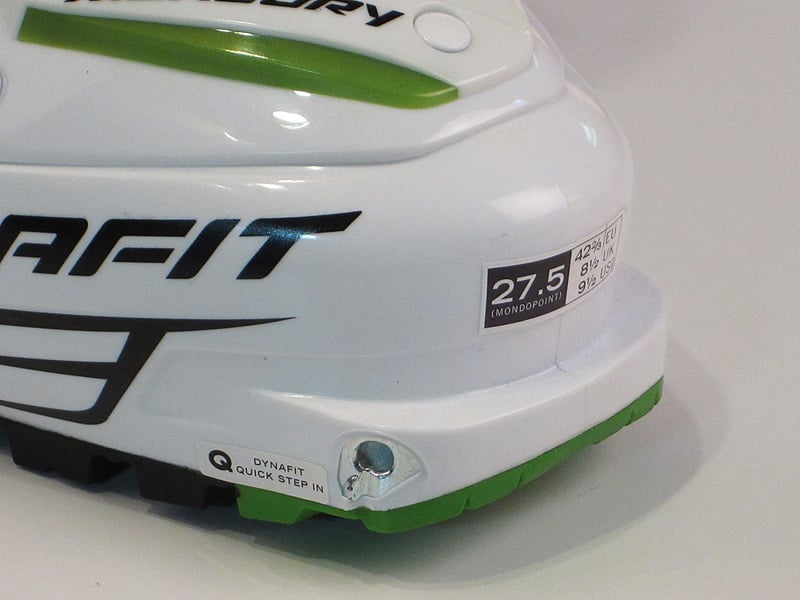
You will first need to align the pins of the binding with the sockets on your boot. This is easier said than done, particularly if you're already balancing somewhere precarious. Some bindings come with a toe-stopper that makes it relatively straightforward to find the right spot, while certain boots come with toe alignment markers molded into the toes. If you don’t have these, it may be helpful to draw marks directly over the toe sockets on your boots with a Sharpie so you can easily see from above where the pins should line up.
Once you're lined up correctly, step straight down to engage the mechanism and bring the pins into the sockets. If this proves difficult, try inserting one of the pins into the socket on one side, and then rolling the foot over to engage the other pin.
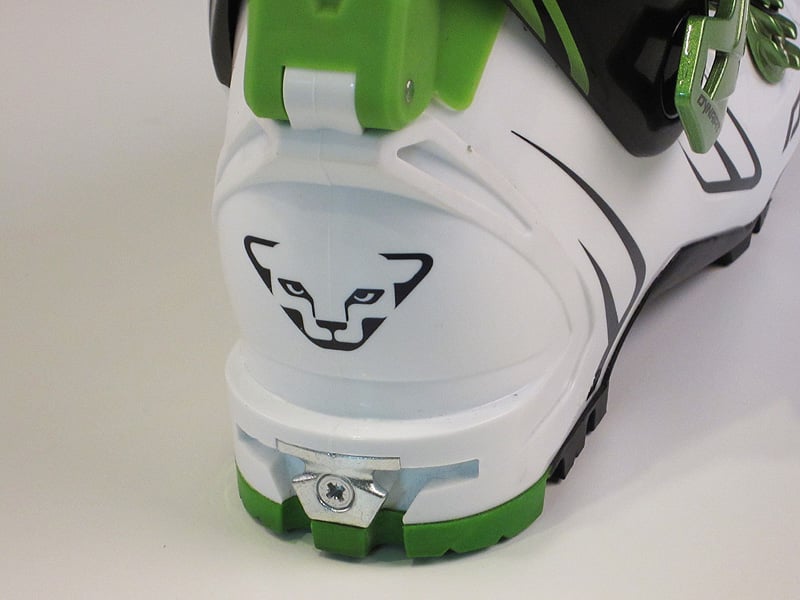
After the toe piece arms close and the pins are in the boot sockets, gently raise and lower your boot heel a few times to seat the pins. In addition to checking if the pins are seated correctly, this action will cause them to rotate in the socket and force out any extraneous material. If you're preparing to ski, align the heelpiece so rear pins face forward and step down hard so the pins click into the slots in the heel of your boot.
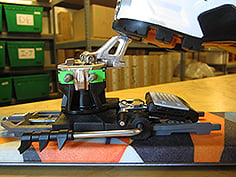
It’s normal for the boot to be suspended above the ski supported only by the rear set of pins when in ski mode, especially in bindings without a ski brake. It might look precarious, but it’s the way the binding is designed to work. Tech bindings with ski brakes will typically have a moving AFD (Anti-Friction Device) located under the heel of the boot that fills up this space.
Uphill Mode
If you're ready to start skinning, click into the toe, making sure the heel is adjusted to the climbing position. This will vary according to which binding you have, so consult the manufacturers guidelines if you're not sure how do do this.
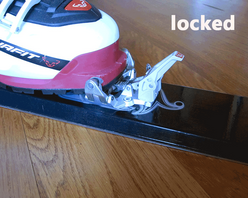
Next, lock the toe into the climbing position by pulling up on the toe lever until you hear an audible click (or series of clicks, depending on the binding). If you don't hear the click(s) or see the word "walk" on the lever base for Fritschi bindings, it could mean you have dirt, ice or snow blocking the system, either in the pin/socket interface or under the toe arms. Take the ski off and check. Using the binding for skinning without fully locked toes can result in the ski easily releasing when you don’t want it to.
The heel risers make it easier to walk uphill by adjusting your gait to varying levels of steepness. In steep terrain, your risers will make it easier on your legs, help prevent heel blisters, and enable better traction by placing more weight on the rear of the ski to maximize skin grip. For flat or rolling terrain, the low position is usually best.
Ski Mode
When you're ready to begin your descent, adjust the heelpieces to ski mode with the rear pins facing forward. Click into the toes, making sure to check that the pins are seated correctly, and then step down firmly at the heel to engage the rear pins. As always, it's a good idea to check you have a good connection before setting off - lift up your ski and stamp down a couple times to make sure you're firmly clicked in.
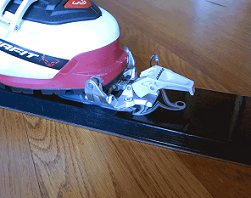
All tech binding manufacturers recommend that you unlock the toes with the lever fully down and parallel to the ski for skiing. Skiing with the toe lever in the locked position significantly increases the force needed for a lateral release, which may result in injury. If you ski with your toes locked you risk experiencing unreliable release characteristics.
Tech Binding Release Characteristics
Though most tech bindings have adjustable release values and use a set of numbers that appear to mirror alpine binding DIN settings, there is currently no tech-specific industry standard for certifying them.
On traditional tech bindings, both vertical (forward) and lateral (sideways) release values are set at the heelpiece, but with separate screws. Release value numbers are often printed on the heelpiece body. Exceptions include the Fritschi Ion and Tecton bindings, which are adjusted for lateral release value at the rear of the toepiece, and Atomic Backland/Salomon MTN, which are adjusted by swapping the "U" spring in the heelpiece. Most ultralight race-type tech bindings have no release value adjustment.
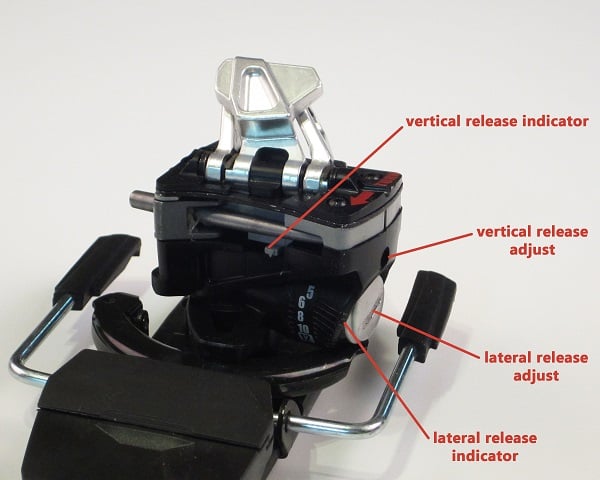
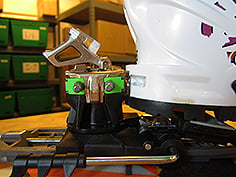
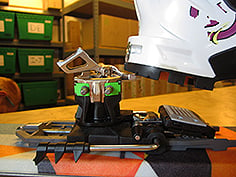
Dynafit Radical heel adjustment points
In practice, tech bindings may perform differently than alpine bindings during release, especially in the forward (vertical) plane. Elasticity may also not be the same as alpine bindings, so be aware that your tech binding may not offer the same level of retention in extreme conditions.
The bottom line is this: you should not assume that your tech bindings will perform like a similarly adjusted alpine binding. If in doubt, work up to high speeds and air gradually.
Learning curve aside, most people who transition to tech bindings find that the light weight and smoothness of operation while skinning improve the overall ski touring experience immensely, and we’re guessing you will too.
Tech Binding Quick Tips
- Check that the toes are aligned properly and the heel pins engage correctly.
- Spray under the toe arms periodically with silicone spray to reduce snow and ice buildup.
- Raise and lower the heel of your boot a few times when engaging the toe to make sure the interface is clear of debris.
- Make sure your toes are fully "locked" before skinning. If the toe won’t lock fully, check for debris in the boot toe sockets or under the binding toe arms.
- If ice does collect under the toe arms, hold the ski upright and snap the toe open and closed a few times without the boot to remove it (wear gloves so your fingers don’t get pinched). If this isn’t enough to break up and remove the ice, use a multi-tool or similar pointed object to get it out.
- Forward (vertical) and lateral (horizontal) release values are normally set with different screws, and are not necessarily equal to alpine DIN values with the same number. Start with release values that are familiar, and be prepared to adjust them if needed.
- Dynafit Radical, Radical 2.0 and Rotation heels are only meant to be rotated in a clockwise direction – turn them ¼ turn to skin, then another ¾ turn in the same direction to return to ski position. The exception is the Dynafit Speed Radical with external anti-rotation tab, which should be rotated counterclockwise back to touring position rather than forcing the heel over the tab (disregard the arrow on the heel top plate).
- Dynafit Turn heels are designed to be rotated with the tip of a ski pole inserted into the riser “volcano” (Radical heels are not) but proper technique is important to avoid breaking the top plate. Use an arcing motion rather than pulling straight back on your pole.
- Dynafit Beast, Marker Kingpin, Fritschi Vipec/Tecton and G3 Onyx heels move rearward rather than rotating for skinning. Atomic Backland/Salomon MTN heels may be left with pins facing forward to skin.
- G3 ION and Zed heels may be rotated in either direction, and the lifters function equally in either posiiton.
- Salomon/Atomic Shift toepieces convert to an alpine style toe for skiing; the heel unit does not move. The binding is not designed for skiing with the toe in "tech" mode.
- Marker Duke PT toes have a cowling that contains the "alpine" interface. This hinges forward (and can be completely removed) for skinning. The binding is not designed for skiing with the toe in "tech" mode.
Skinning Quick Tips
- Slide your feet along the snow surface for efficiency rather than picking them up.
- When it gets steep or you start to slip backwards, keep your weight back on your heels for better traction. Stand up straight and think about "pulling up your toes." This isn’t intuitive for most people, but it works.
- Keep your angle of ascent moderate and consistent whenever possible. If you’re following, stay in the skintrack and take your turn breaking trail when the leader gets tired.
- Use your climbing lifters when it gets steep. Using them puts less strain on your hamstrings and helps pressure the back of the ski for better traction.
- Learn and practice your uphill kickturn technique, starting with mellow terrain and working up to steeps. Kickturns on 45˚ slopes in two feet of powder are half Tai Chi and half ballet, but still faster than bootpacking.
- When transitioning in deep snow, pack out a flat area and take off only one ski at a time to maintain a solid platform.
We recommend that backcountry travelers take an AIARE Level One class or equivalent and practice the skills they learn there regularly with their partners. Here are some great resources for avalanche safety education:
— American Institute for Avalanche Research and Education
— American Avalanche Association
— Northwest Weather and Avalanche Center
— Avalanche Canada
You should carry an avalanche beacon, shovel and probe when travelling in avalanche terrain and know how to use them. Backcountry travel requires an acceptance of the risks involved (avalanches are not the only danger) and implies a willingness to take responsibility for educating oneself about these dangers and ways to mitigate them.
Learn More With Our Other Backcountry Guides:
Backcountry Basics - How to Get Started
Splitboarding - How to Get Started
How to Skin for Backcountry Travel
How to Trim or Cut Climbing Skins
Backcountry Gear Checklist
How to Choose Alpine Touring Skis
How to Choose Alpine Touring Ski Boots
How to Choose Alpine Touring Bindings
Getting Started with Dynafit (Tech) Bindings
How to Choose Climbing Skins
Climbing Skins Size Guide
Climbing Skins Weight Chart
How to Dress for Backcountry Skiing & Snowboarding
This is evo. We are a ski, snowboard, wake, skate, bike, surf, camp, and clothing online retailer with physical stores in Seattle, Portland, Denver, Salt Lake City, Whistler, and Snoqualmie Pass. Our goal is to provide you with great information to make both your purchase and upkeep easy.
evo also likes to travel to remote places across the globe in search of world-class powder turns, epic waves, or legendary mountain biking locations through evoTrip Adventure Travel Trips. Or, if you prefer to travel on your own, check out our ski & snowboard resort travel guides and mountain bike trail guides.
Still have questions? Please call our customer care team at 1.866.386.1590 during Customer Care Hours. They can help you find the right setup to fit your needs.